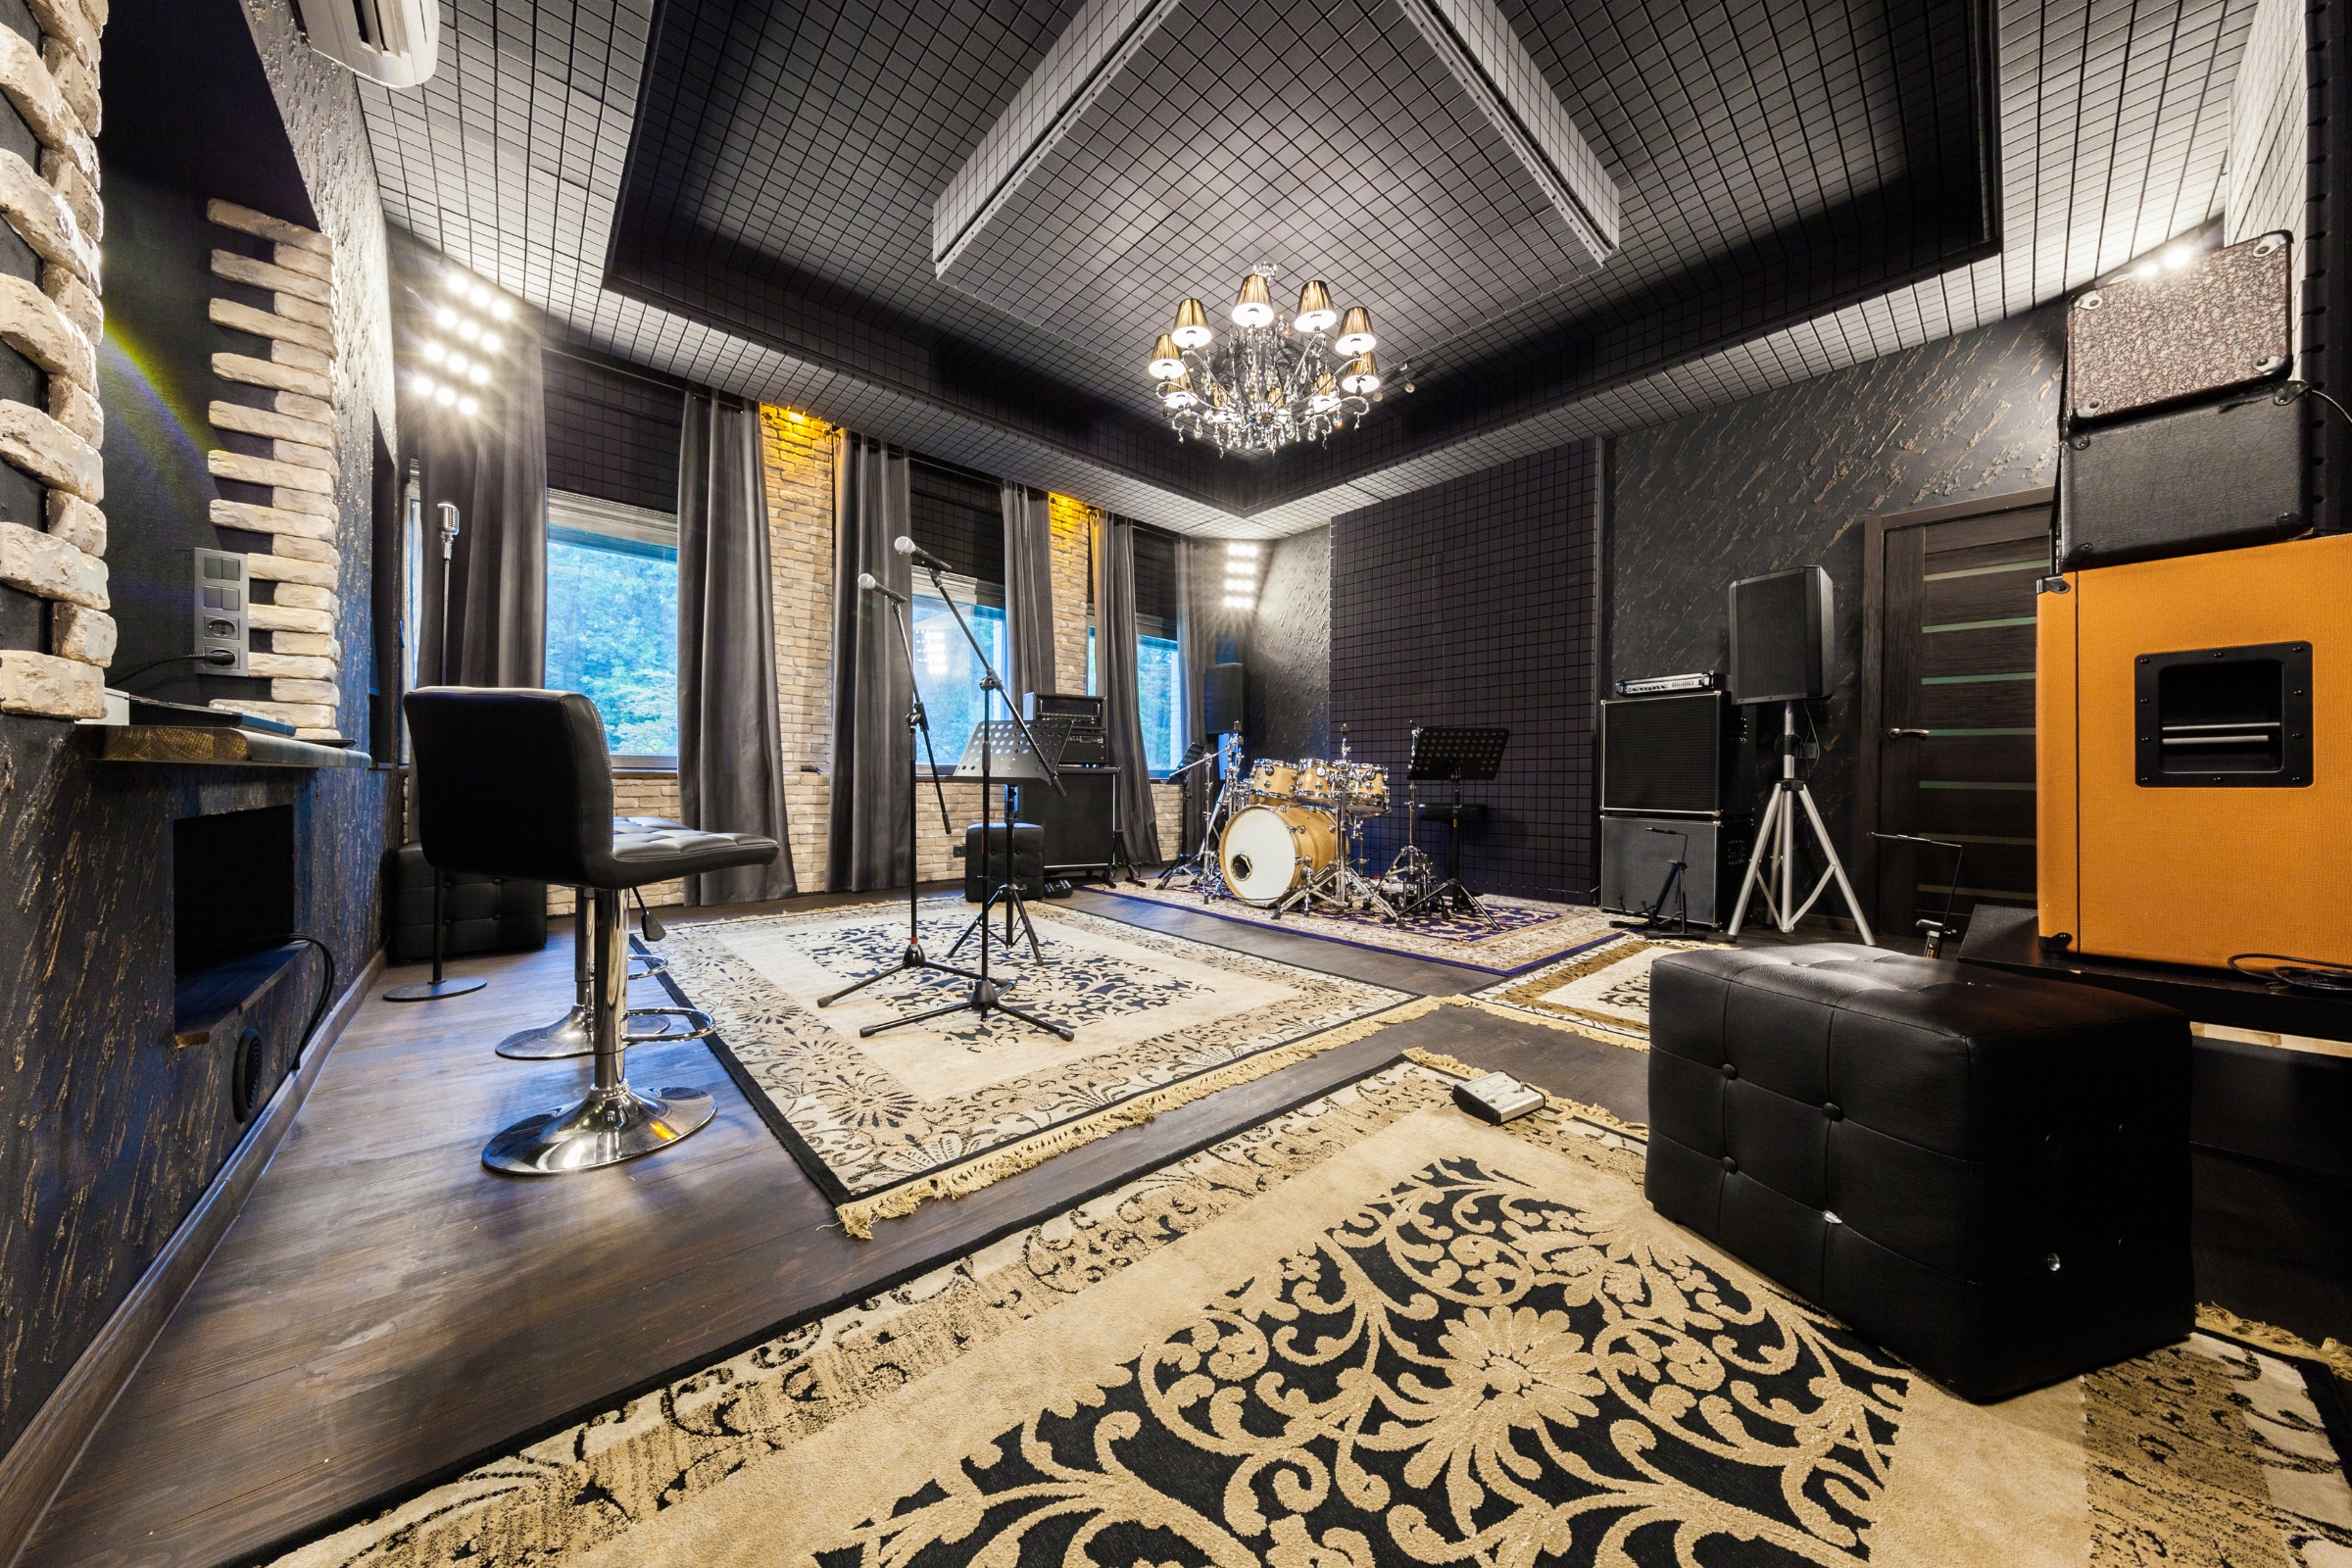
Transforming a space in your home into a music studio can be exciting for any musician. It’s a personal hub for creativity where you can conveniently compose, record, and produce music. However, creating the perfect home music studio requires careful planning and consideration.
The proper space selection, essential equipment, and thoughtful acoustics are fundamental in developing a professional-quality sound studio at home. Whether you’re looking to build a simple setup to lay down vocal tracks or aiming for a more elaborate configuration, you must understand the basics of sound treatment and equipment selection.
Soundproofing is crucial to ensure your recordings are clean and free from unwanted noise. Choosing the best room for audio quality is essential, often isolated from external sounds and household noises. Acoustics play a crucial role, too, as they determine how sound waves travel in your studio, affecting the overall sound of your recordings. Strategic placement of acoustic panels and bass traps can significantly enhance the audio quality.
Consider the variety of equipment—microphones, monitors, headphones, and Digital Audio Workstations (DAWs)—needed to bring your studio to life. From high-quality recording hardware to software that aids you in mixing and arranging, a well-equipped home studio is a powerhouse of musical potential.
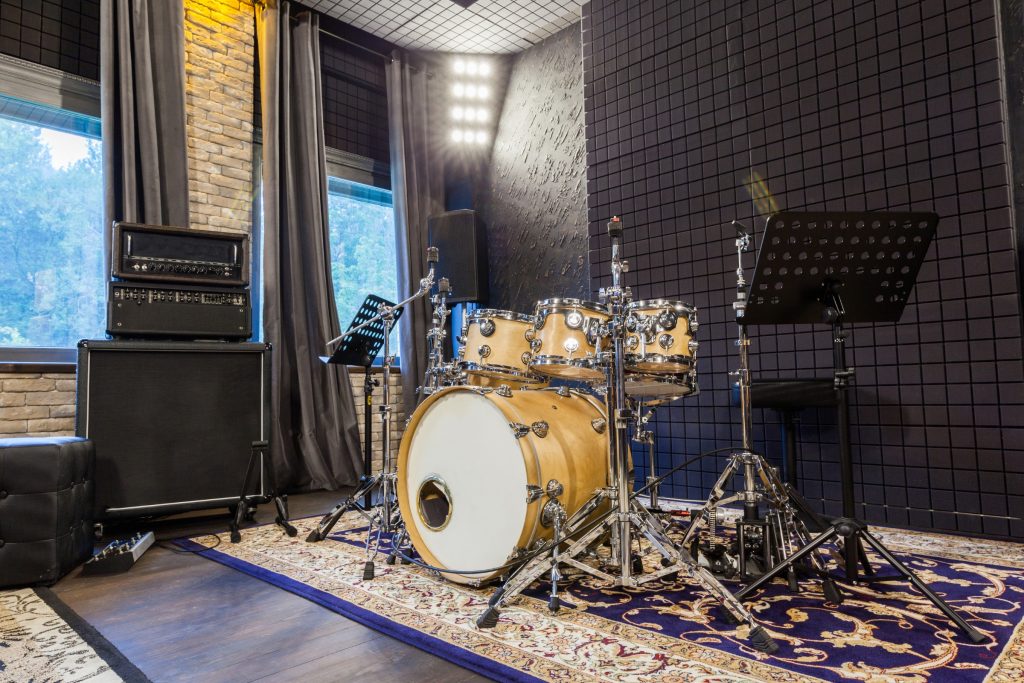
Creating a home music studio necessitates a thoughtful approach to the space you allocate for recording and production. The ambiance, acoustics, and layout directly affect your work quality and efficiency.
For a home studio, choosing a dedicated room with sufficient space to house your studio desk, chair, other furniture, and any effects hardware you might use is crucial. Consider rooms with a ceiling height that avoids amplifying certain resonating frequencies; ideal rooms are not perfect cubes or multiples in dimension. Rooms too small may constrain your studio setup and contribute to unwanted noise levels.
Desk Placement: Position your studio desk to face the shorter wall to improve sound projection and stereo imaging. Acoustic Treatment: Integrate acoustic treatment to manage echoes and reverb; options include bass traps, diffusers, and foam panels. Your chair should be comfortable for long sessions, promoting good posture without obstructing movement. Remember to leave space around your furniture to reduce clutter and allow free movement.
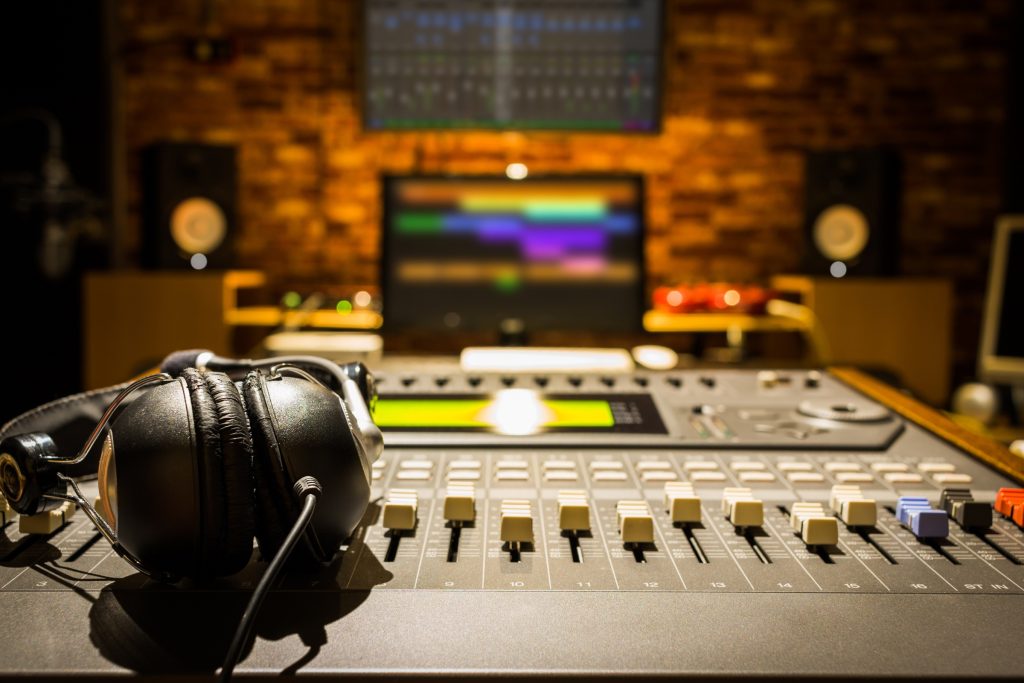
The heart of your home music studio lies in selecting essential equipment. Getting the right gear can significantly improve the quality and ease of your music production process.
Selecting the right computer is crucial for your studio. Whether you choose a Mac or a PC, a powerful processor and sufficient RAM are non-negotiable for smooth operation. For Mac users, the M1 chip offers remarkable speed and efficiency, while Dell and Microsoft are reliable PC brands that cater to Windows environments.
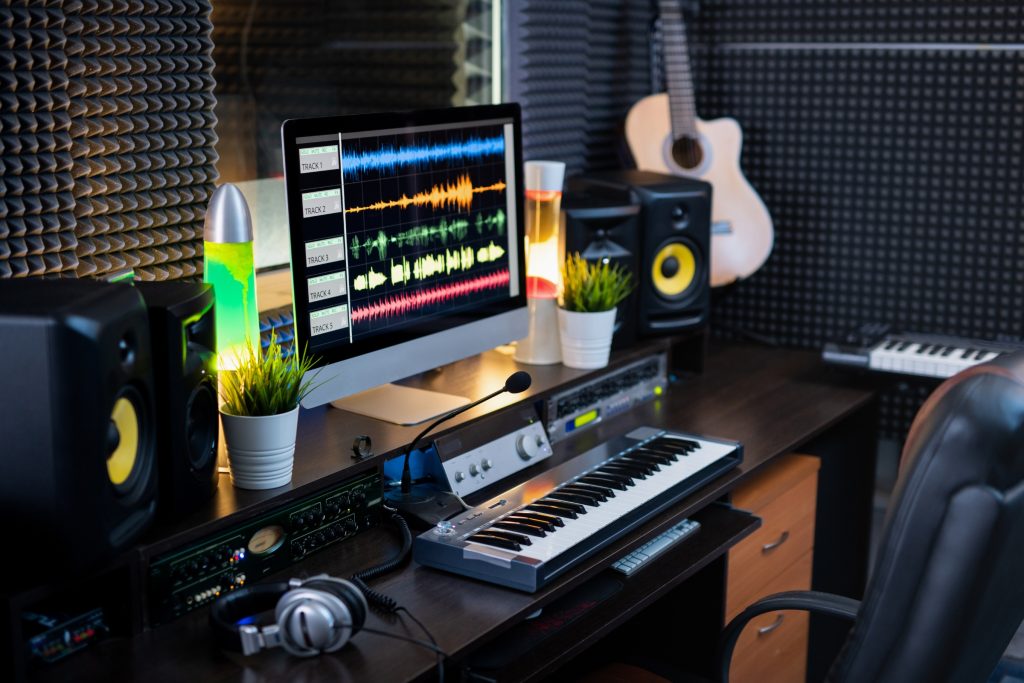
Regarding Digital Audio Workstations (DAWs), choose from industry leaders like Pro Tools, Logic Pro, Ableton Live, or FL Studio based on your workflow and compatibility with your desktop or laptop. If you’re looking for a budget-friendly yet powerful DAW, consider Reaper. It offers extensive features and a wealth of tutorials, making it an excellent choice for those new to studio recording.
An audio interface is a pivotal element that bridges your analog and digital gear. A USB audio interface like the Universal Audio Apollo Twin X provides top-notch conversion and processing power. Complement it with high-quality monitor speakers or studio monitors to hear your mixes accurately. When connecting your gear, ensure you have all the necessary cables to avoid any signal interruptions.
Invest in a versatile microphone—condenser mics are ideal for capturing vocal nuances, while dynamic mics easily handle high-SPL instruments. Paired with a pop filter, you’ll reduce plosives and improve recording clarity. For critical listening, headphones offer an intimate monitoring experience and are indispensable for tracking. Consider both open-back designs for mixing and closed-back for recording to avoid bleed.
Creating the ideal home music studio requires a good understanding of acoustics and soundproofing. That will ensure sound clarity within the studio and prevent noise leakage to and from adjacent environments.
Acoustics in your home studio are influenced by how sound waves interact with the room’s surfaces. Absorption is critical to minimize reflections that can cause echo and reverb, muddying your sound. You can strategically place acoustic panels, bass traps, and even an acoustic cloud to absorb these reflections.
Panels generally handle mid to high frequencies, while bass traps are essential for lower frequencies that tend to accumulate in corners. An acoustic cloud suspended from the ceiling helps control sound reflections from above, further enhancing the clarity and balance in your studio. Diffusers are used to scatter sound, creating a more natural-sounding space by reducing standing waves and flutter echoes without deadening the room too much.
Soundproofing your home studio is about isolation—preventing sound waves from entering or exiting the space. You can achieve this through a variety of materials and construction techniques. Use dense materials, like mass-loaded vinyl (MLV), to add mass to walls and acoustic sealant to fill gaps. For more extensive solutions, consider constructing a room within a room that can provide superior sound isolation through decoupling, essentially building a floating structure that minimizes vibration transfer.
Proper treatment and soundproofing will improve your recordings and create a more enjoyable and professional workspace.
Creating high-quality music in your home studio hinges on solid recording practices and smart production choices. Here’s how to refine both.
Your microphone selection is paramount for the best recording results. Use a large diaphragm condenser mic for vocals to capture detail and a dynamic mic for loud sources like guitar amps. Ensure your recording space is acoustically treated to reduce unwanted reflections and background noise. Employ pop filters to eliminate plosive sounds, and consider using a reflection filter for an added layer of vocal clarity.
Position your microphones carefully; even a few inches can significantly affect sound quality. For instance, placing a mic closer to the sound source generally results in a bass boost, known as the proximity effect. Explore various microphone placement techniques for diverse sound textures, like close and ambient miking.
Once your tracks are recorded, the mixing stage begins. Focus on achieving balance among tracks, and use EQ (equalization) to carve out a distinct space for each instrument, helping to prevent frequency overlap that can muddy your mix. Use compression judiciously to even out dynamic ranges, and add reverb or delay to lend depth and space to your music.
Mastering is the final polish that ensures your music translates well across various playback systems. During this phase, apply limiting to increase overall loudness while avoiding distortion. Carefully tweak the stereo image for a wider mix without losing focus on the central elements of the track. Use mastering EQ sparingly to address any overall tonal imbalances.
Experiment with different samples and synthesized instruments to maximize the potential of your recording and production. Integrate high-quality plugins that can expand your sonic palette. Constantly update and maintain your music production software to ensure that you have access to the latest features and bug fixes for your software instruments.
In your home studio, achieving a smooth workflow and fostering creativity are crucial. Your tools, tracks, and studio design arrangement significantly impact your musical output.
Proper organization is fundamental for an efficient workflow. Begin by categorizing your instruments and arranging them for easy access. For electronic setups, a streamlined MIDI configuration minimizes clutter. Use a variety of storage options for physical and digital components, ensuring cables are neatly tucked away to prevent accidents and keep a clear workspace.
Your studio’s design can act as a catalyst for creativity. Use sound absorbers to minimize unwanted echoes and pops that can distract from the creative process. The choice of lighting, color, and decor should reflect the genre of music you produce and resonate with your artistic style. Incorporate elements that inspire and offer a vibe conducive to the professional level of music production you aspire to.
Following these strategies, you can create a home studio where workflow and creativity flourish harmoniously.
In this section, you’ll find focused answers to common queries regarding setting up your own music production space.
Your home studio setup should include a computer, Digital Audio Workstation (DAW), audio interface, studio monitors, microphones, headphones, cables, and a MIDI controller. The quality and specifics will vary based on your needs and genre.
A reliable DAW is crucial for your home studio. Options like Ableton Live, Pro Tools, or Logic Pro are popular choices catering to different music production levels and styles.
Utilize vertical space for storage, invest in foldable or multifunctional furniture, and arrange your equipment to allow easy movement around the room. Proper acoustic treatment should also be a priority.
Begin with essentials like a basic DAW, a quality but affordable audio interface, and a decent microphone. Over time, you can upgrade components. Look for budget-friendly gear reviews and second-hand options to stretch your budget further.
Critical acoustic factors include room shape, size, surface materials, and sound isolation. Treat your room with bass traps, diffusers, and absorbers to reduce unwanted reflections and ensure clear sound recording.
Arrange your space to separate the recording area from the mixing space. Place your monitors at ear level, ideally forming an equilateral triangle with your listening position. Keep the room uncluttered for optimal functionality.

Kimberly Villa is a recognized expert in the Home Design and Remodeling industry. Her passion for the industry is matched only by her love for sharing insights, new trends, and design ideas. Kimberly’s expertise and enthusiasm shine through in her contributions to the Kaminskiy Design and Remodeling website blog, where she regularly shares valuable information with readers.